Tuesday, June 28, 2011

4th of July


Happy 4th of July Weekend dabblers! I thought I would kick the celebrating off early with some dabbling inspiration. Here is a picture of the fruit tart I made last year for the 4th.

This tart is super easy to make...just a graham cracker crust, frosting and fresh fruit of your choosing. Here is a link to Martha Stewart's recipe for graham cracker crust. I used the same frosting as I used to frost the Carrot Cake I made last week. The frosting pairs well with fruit...I have even whipped up a batch and set it out with fresh fruit as a fruit dip. I went with a flag pattern with sliced strawberries and blueberries, but you could make whatever design you want.


Here is another idea. This is a fresh cherry tart. It also uses a graham cracker crust and the same frosting. It is topped with fresh, pitted cherries that have been sliced in half. Cherries are so delicious right now...and you could incorporate this dessert into any red, white and blue color scheme.


This year I am heading north to my cabin to celebrate the 4th with my family and dogs. The dogs and I are looking forward to some quality dock time. I'll be making a batch of Cinnamon Rolls for breakfast one of the days, and a couple loaves of Sourdough Bread to make sandwiches with....I love packing a good picnic lunch to take hiking.

A special suggestion...make a batch of Oatmeal Chocolate Chip Cookies and use them to make s'mores. This is one of the greatest fireside treats I have ever had.

What recipes will you be making to celebrate the 4th of July?


Hope you get to *share* a wonderful weekend with family and friends :)

-The Delicious Dabbler

ps: a bonus photo from my last trip north


Saturday, June 18, 2011

Carrot Cake


Happy Father's Day Weekend Dabblers! Today I am sharing my Father's Day present and a wonderful recipe for Carrot Cake. This cake is one of the most requested things I make and I have had a few requests for the recipe...so enjoy making this at home :)

I love this recipe because it is hearty and moist. It is also relatively healthy, as cakes go. It has 2 cups of carrots, pineapple, coconut, nuts and is made with whole wheat pastry flour. It's still cake...but, have a second piece and feel fabulous about it.


Carrot Cake


Ingredients for the Cake:
-1 20 oz can of crushed pineapple, in %100 pineapple juice
-2 c whole wheat pastry flour
-2 tsp baking soda
-1/2 tsp fine ground sea salt
-2 tsp cinnamon
-3 eggs
-1 1/2 c light brown sugar
-3/4 c buttermilk
-1/2 c coconut oil
-2 tsp vanilla
-2 c shredded carrots
-1 c coconut flakes
-1/2 c chopped walnuts

Ingredients for Frosting:
-2 8 oz packages cream cheese, at room temperature
-2 c heavy whipping cream
-1/2 c powdered sugar
-zest and juice of 1 lemon

Instructions:
1. Preheat oven to 350°F.
2. Liberally butter and flour 3 8" cake pans.
3. Drain crushed pineapple and reserve 1/4 c juice.
4. In a medium-sized bowl, sift flour, sea salt, baking soda and cinnamon.
5. In a large bowl, stir together eggs, brown sugar, buttermilk, coconut oil, vanilla and reserved 1/4 c of pineapple juice until incorporated.
6. Stir in pineapple, carrots, coconut and walnuts until incorporated.
7. Stir the dry ingredients into the wet ingredients until incorporated.
8. Evenly distribute batter between 3 cake pans.
9. Bake until the center of the cake is set.
10. Remove pans from oven and allow to cool completely.
11. Prepare frosting. Beat together cream cheese, heavy cream, powdered sugar, lemon zest and lemon juice.
12. Frost and assemble cake. Top with extra coconut and walnuts.
13. Serve and enjoy!

Pictures and Tips:


Step 2. Liberally butter the cake pans. This will make removing the cake from the pans easier. To flour the pans, sprinkle a little bit of flour into the pan and lightly tap the pan to spread the flour around. Rotate the pan in your hands to coat the edges.


Step 3. I use a hand strainer to drain the pineapple. Press down on the crushed pineapple to get the juice out. It is important to get as much juice out as possible, so you don't throw off the ratio of wet ingredients to dry ingredients.


Step 4. As I have said in previous posts, sift your dry ingredients. It incorporates the dry ingredients together and lightens everything up. I use a hand strainer to sift as well...a very versatile kitchen tool.


*Note: Here is a picture of the whole wheat pastry flour I used in this recipe. I have seen this product or similar ones in most grocery stores. The flour is finely ground, which creates a better texture for baking. This is a great thing to substitute into your baking recipes if you are trying to eat more whole grains or fiber.


Step 5. Use a large rounded spatula or spoon to stir together the wet ingredients. I stir these together before adding anything else to ensure the eggs and sugar are mixed in well.


Step 6. Add the pineapple, carrots, coconut and walnuts. This is where the batter starts to get chunky in appearance. It may not resemble your average cake batter, but stick with it. You just added the deliciousness to this cake.


Step 7. Stir the dry ingredients into the wet.


Here is a picture of what my batter looks like at this step.


Step 8. Pour the batter into the pans. Spread it around in an even layer using a rubber spatula.


Step 8 & 9. Bake the cakes until their centers are set. You can test this by lightly shaking the pans...if the middle is jiggly, they are not done. Allow the cakes to cool completely to room temperature. If you try to frost them while they are still warm, the frosting will melt and slide right off.


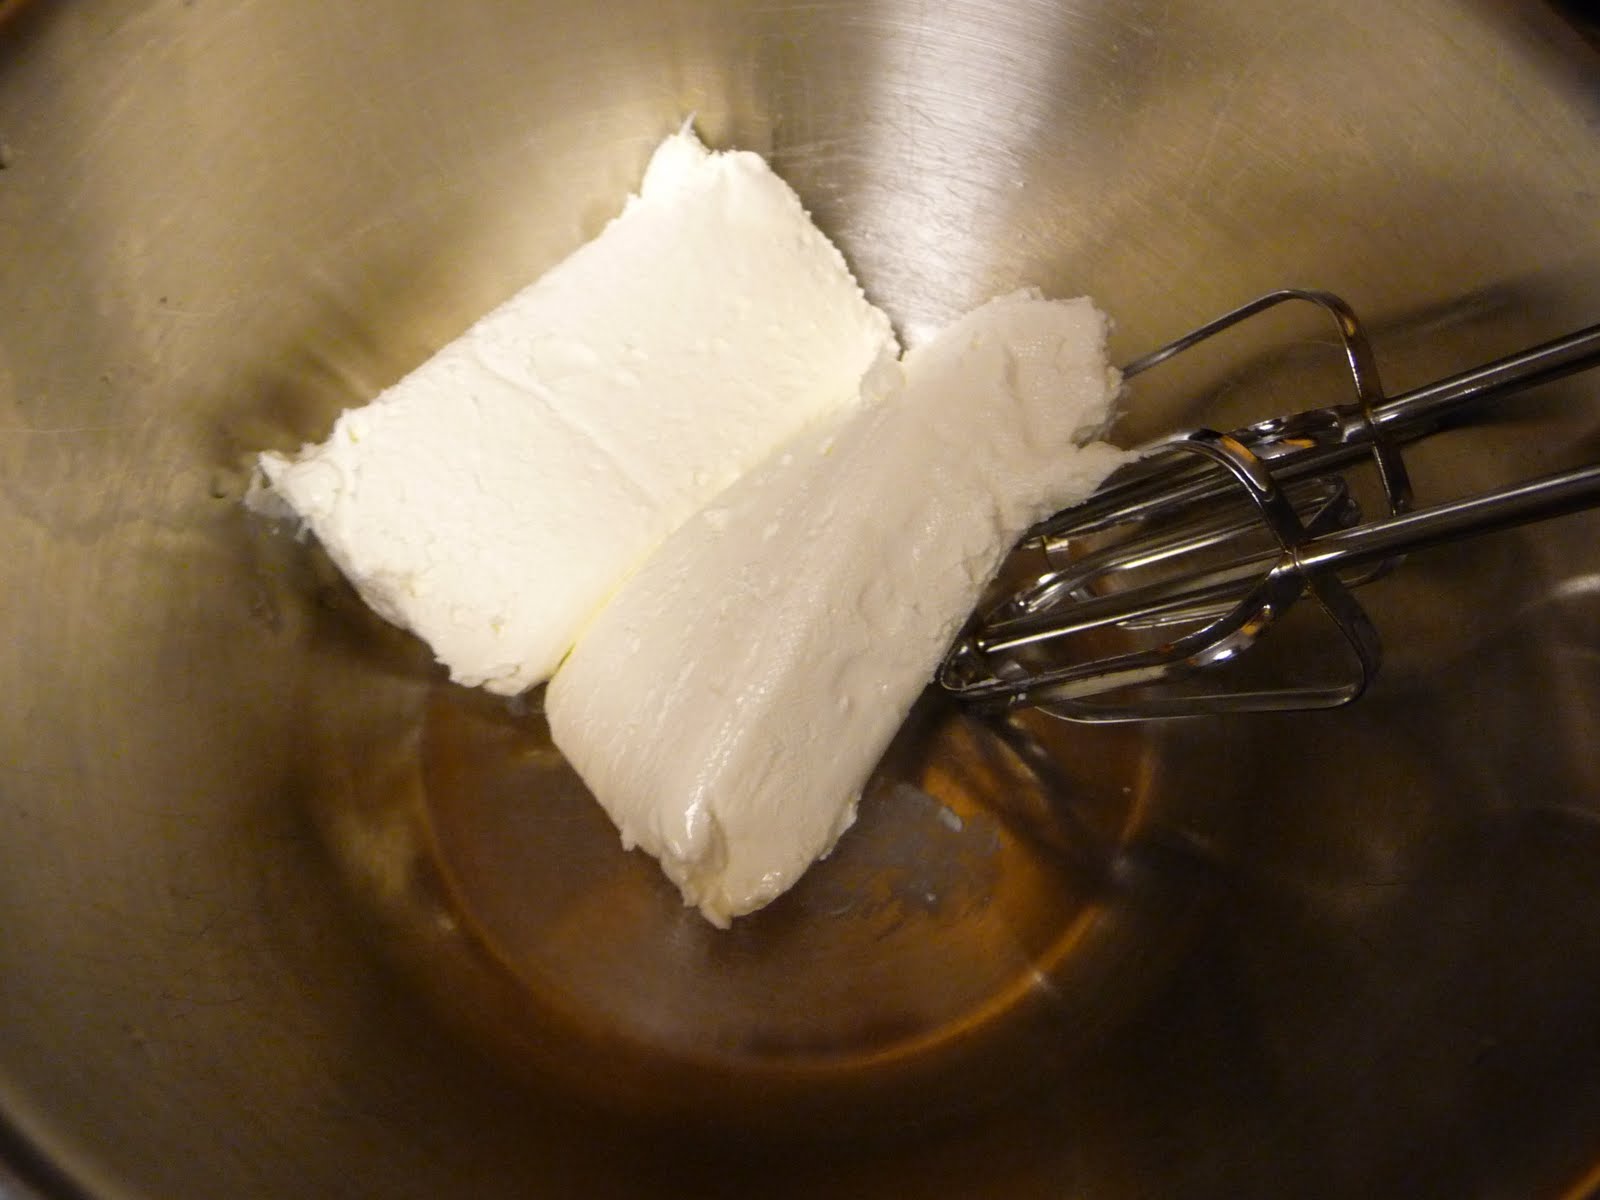
Step 10. Make the frosting. Using an electric hand or stand mixer, beat the cream cheese until it passes easily through the beaters.


Add the heavy whipping cream and beat until you can start to see the "wake" of the beaters. For some reason, the process of whipping cream has always reminded me of the wake created behind a boat.


Add the powdered sugar, lemon juice and lemon zest and beat until soft peaks form.

Step 10. Frost and Assemble. Place the first cake round onto a cake plate and line the edges with parchment paper. This will give you a clean presentation after frosting.

Apply a thin layer of frosting to the top of the first layer.


Place the second layer on top of the first and repeat with the remaining layer.


Frost the top and edges of the cake. You don't have to be super fancy with the frosting...it will be covered with walnuts and coconut.


Using your hand, press chopped walnuts around the edge of the cake. Sprinkle the top of the cake with shredded coconut. I garnished the top of the cake with a few curls of carrot. To make these run a peeler down the length of a carrot and arrange them as you like. I placed a walnut in the center to finish the whole thing off. I like garnishes that give a sneak peak of what is inside the cake :)


Step 12. Serve and enjoy!

This cake is heading for the best Dad in the world, but it is great for any occasion...last year it made a great birthday cake for my brother. This recipe also makes cute cupcakes if you are serving a crowd. You could sprinkle the top of each cupcake with shredded coconut and one whole walnut.

Enjoy this recipe. I would love to know how it turns out for you. Happy Father's Day to all the great dads out there.

Thanks for visiting,

-The Delicious Dabbler

Monday, June 6, 2011

Kicked-Up BLTs


BLTs are one of my favorite summer foods. Bacon and fresh produce sandwiched between two pieces of bread....lovely. Over Memorial Day Weekend, I headed to my family's cabin in Northern Minnesota with my mom, girl friends and dogs. On our last full day there, we had gorgeous weather and did nothing more than sit out on the dock with our books, watching the dogs play in the lake. This recipe for Kicked-Up BLTs was the perfect complement to our dock day. Complement any summer lunch or dinner with this recipe. You will enjoy it :)

Kicked-Up BLTs
*this recipe is for 4 sandwiches

Ingredients:
-8 sandwich-style slices of Sourdough Bread
-2 tbsp of room temperature butter
-1 garlic clove
-1 package (appx 10 pieces) of bacon
-mayonnaise
-deli-style mustard
-8 tomato slices
-sea salt
-black pepper
-8 pieces of fresh basil
-1 avocado
-1 head of romaine lettuce

Instructions:
1. Preheat the oven to 375°F.
2. Butter the sourdough bread slices and bake in the oven for 5-7 minutes, until lightly crispy. Rub each piece with the clove of garlic.
3. Cook the bacon and drain it on paper towels.
4. Prep the fresh ingredients...slice tomatoes and avocado, wash and dry lettuce.
5. Begin to assemble the sandwiches. Depending on eater's preference, spread mayonnaise and/or deli mustard onto the bread slices.
6. Top one slice of bread per sandwich with bacon.
7. Place two tomato slices onto each sandwich. Season with sea salt and pepper.
8. Place a basil leaf over each tomato slice.
9. Place a slice of avocado over each basil leaf.
10. Cover the avocado with a piece of romaine lettuce.
11. Top the ingredients with the remaining slice of bread.
12. Secure the sandwich ingredients with a toothpick.
13. Serve and enjoy :)


Pictures and Tips:


Step 2. Butter the sourdough slice and bake in the oven until the butter is melted and the bread is slightly crispy.


Remove the bread from the oven and rub each slice with the clove of garlic. The crispy edge pieces created from baking with help release the juices of the garlic clove.

This sandwich is all about building layers of flavor...it starts with the bread!


Step 3. Cook the bacon and drain on paper towels to soak up the excess fat. You can cook your bacon in a skillet, as pictured above, or use the oven method I showed you in step 2 of the Bacon, Egg and Toast Cups recipe. Cook the bacon to your desired crispyness level.

Step 4. Prepare the remaining sandwich ingredients. Thinly slice the tomatoes. To make tomato slicing easier, use a serrated knife...like a bread knife.


Slice your avocado. Avocados are easy to handle with the right method. Use a sharp knife to slice all the way around the avocado and then twist with your hands to separate the sides. Using a bit of force, chop your knife into the pit and twist to remove it easily. Make thin slices down the length of the avocado and gently wedge the slices out with your knife.

A few avocado notes:
* You can tell they are ripe at the store when they have a deep, rich green color and are just slightly soft to the touch
* If you don't use the whole avocado, leave the pit in and cover the unused portion to help preserve it longer. You can also use the pit-in trick to help keep guacamole fresh.


Here is a picture of my prepped sandwich ingredients. I like to have everything ready to go to expedite the assembly process.


Steps 5 through 7. Begin to assemble the sandwiches. Depending on eater preference, slather the sourdough slices with mayo and/or mustard. Break the bacon slices to fit the bread and layer on. Top the bacon layer with two tomato slices and season with sea salt and black pepper.


Steps 8 & 9. Continue the assembly. Top each tomato slice with a basil leaf. Then  top each basil leaf with a slice of avocado.


Steps 10 through 12. Top the avocado slices with a piece of romaine lettuce. Place the remaining sourdough slice on top and secure the sandwich with a tooth pick.


Step 13. Enjoy! Here is a picture of the finished product out on the dock. I paired this delicious sandwich with some simple apple slices and served it with lemon ice water. It was the perfect complement to a sunny dock day.

This sandwich is summer perfection. I hope it adds to your sunny summer memories this year :)

Thanks for visiting,

-The Delicious Dabbler

ps. a bonus picture of my gorgeous girl enjoying her dock time: